Manually Cleaning the Print Cartridges and Print Cartridge Cradle
In order to properly clean the print cartridges and cradle, you will need distilled or
bottled water and cotton swabs or a similar lint-free absorbent material that will
not stick to the cartridges.
Manually Cleaning the Print Cartridges
1
Lower the Fold-Up tray and press the Power Button
to turn the printer on.
Then lift the top cover.
2
After the print cartridges move into an accessible position, unplug the power
cord from the back of the printer.
Keep new and used print cartridges out of the reach of children.
3
Remove the print cartridges and set them on a piece of paper with the ink
nozzle plate facing up.
Do NOT
touch the print cartridge ink nozzles or copper contacts. Touching
these parts will result in clogs, ink failure, and bad electrical connection.
Also,
do NOT
remove the copper strips; these are required electrical
contacts.
4
Dip a clean cotton swab into distilled water and squeeze any excess water from
the swab.
5
Clean the
face
and
edges
of the
print cartridge as shown.
Do NOT
wipe the nozzle plate.
6
Inspect the cartridge for fibers on
the face and edges. If fibers are
still present, repeat the cleaning
process.
7
Repeat the cleaning process for the other print cartridge.
Once you’ve removed the print cartridges, make sure that they are not
outside of the print cartridge cradle longer than 30 minutes.
Warning
Caution
Do NOT
clean
nozzle plate
Clean
Caution

32
Using and Caring for Your Print Cartridges
3
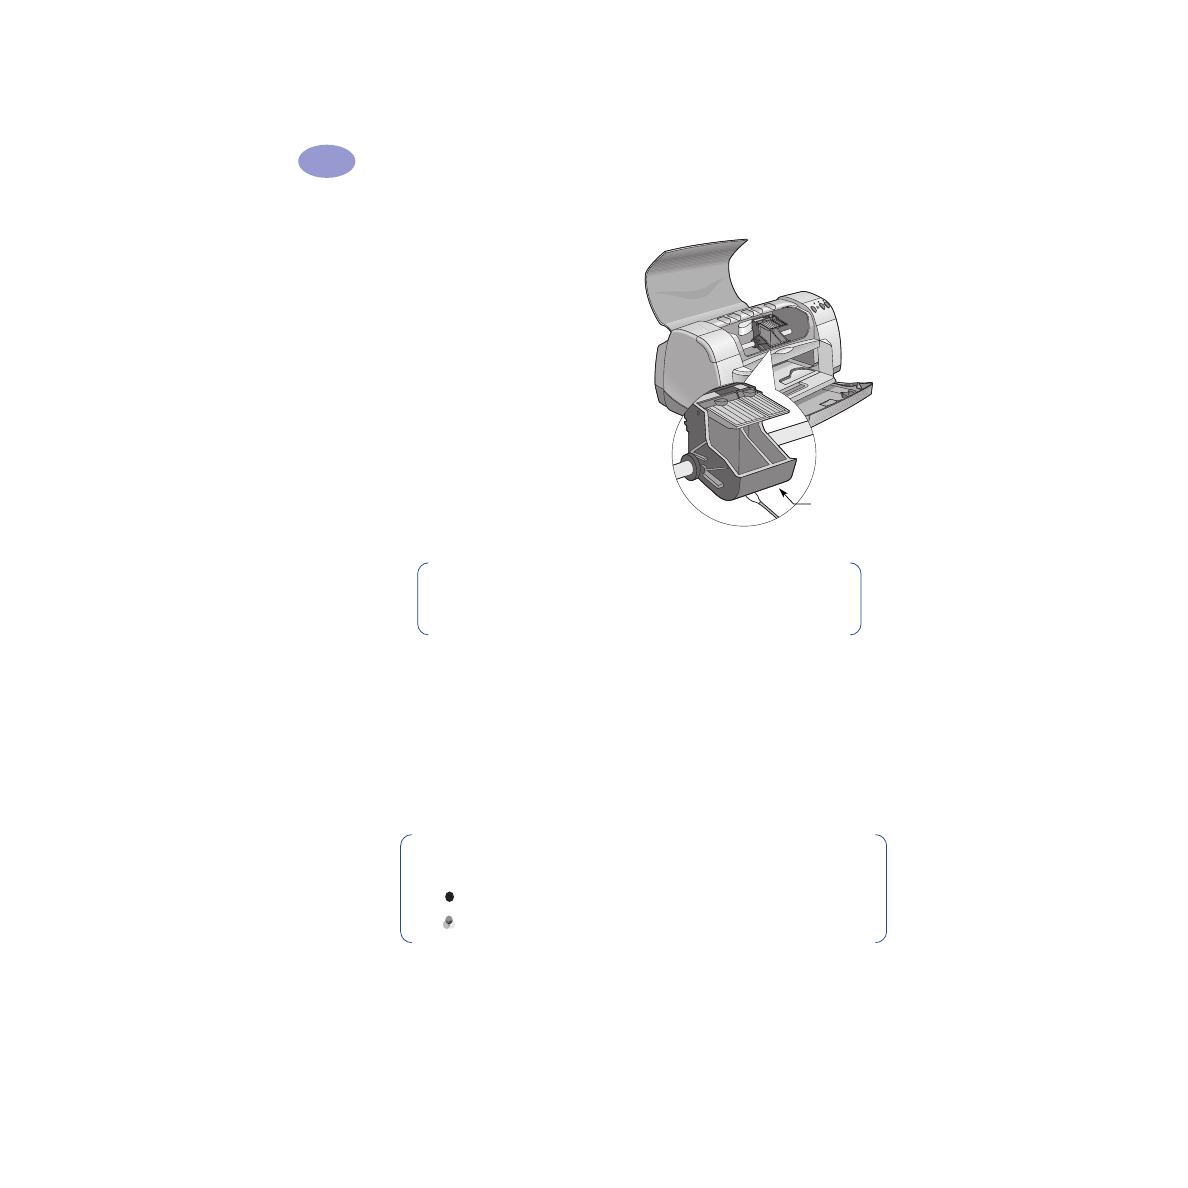
Manually Cleaning the Print Cartridge Cradle
1
Using clean, moistened swabs, wipe
the underside of each wall of the
cradle.
2
Repeat until no ink residue is seen
on a clean swab.
3
Reinsert the print cartridges, then
close the printer’s top cover.
4
Load paper into the IN tray.
5
Reinsert the electrical power cord
into the back of the printer.
6
Print a test page. From the
HP
Toolbox
, click
Print a Test Page
.